6.22.2008

They're BAAAACK!

We're back in action! Dave and Mike from DHI Home Improvements returned in mid-May and now our downstairs bathroom is ALMOST DONE! (After this, the only project left is the upstairs bathroom...PHEW!)

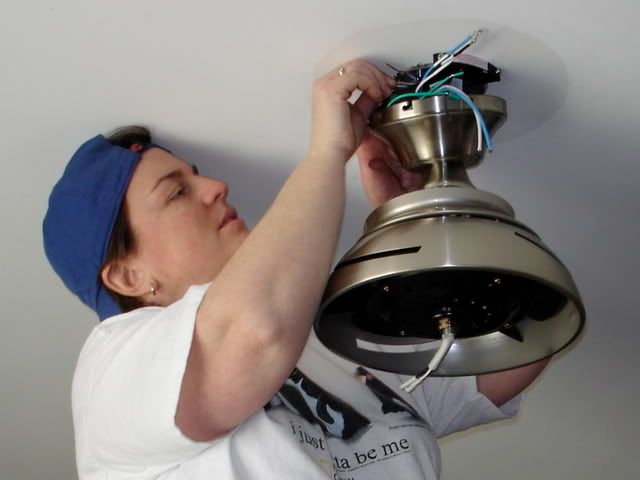
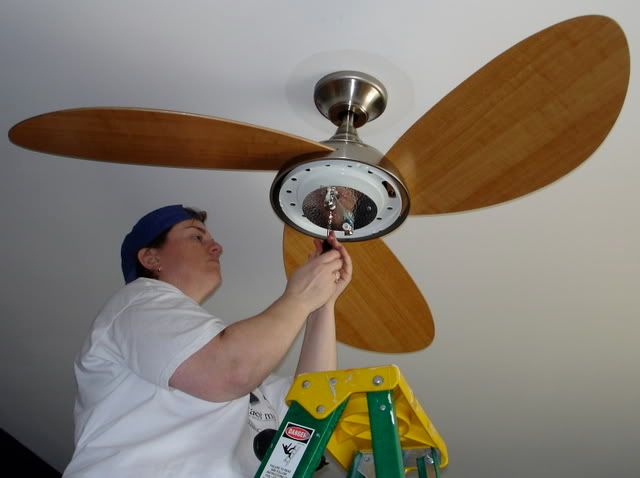
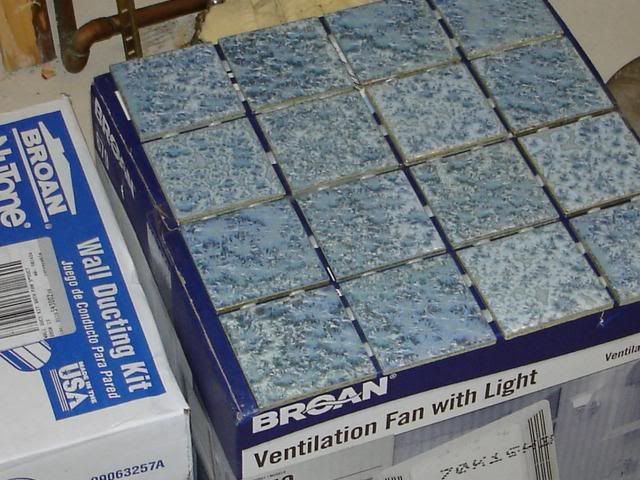
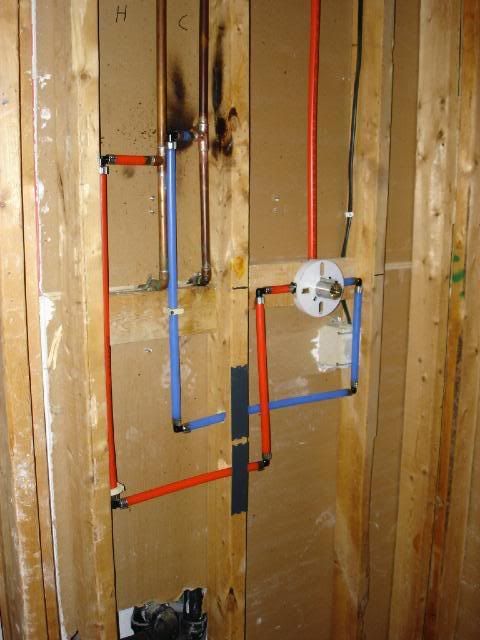
They installed our new light/fan and vent, and completed framing and tiling the new shower for us -- and we're very glad we left that to the professionals! We're fine with tiling floors, but walls and corners -- no way! Needless to say, they did a fantastic job! We're so pleased with the tile we picked -- even The Guys commented on how nice it looks, and Dave might use it for his own home's bathroom renovation. It's called "Cayman Dolphin" and you can get it at Lowes, since it's a regularly stocked item -- no special order required. They installed the shower door, and it was done!

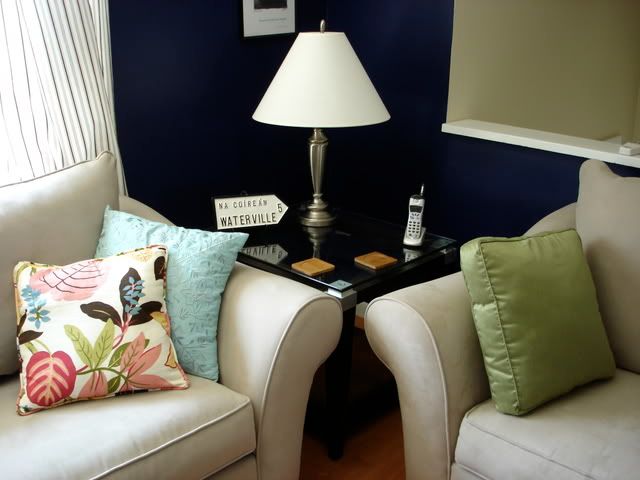
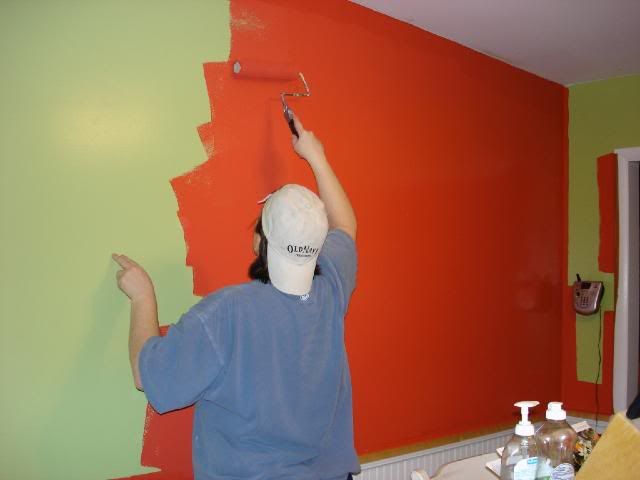
Once the shower was done, Cath painted the walls a lovely, cool blue -- not the original one we picked, since it wasn't quite right. We ended up with a color called (I think) "Journal Book" if I'm remembering correctly... Once we finish painting the trim a crisp, glossy white, it'll look even better!

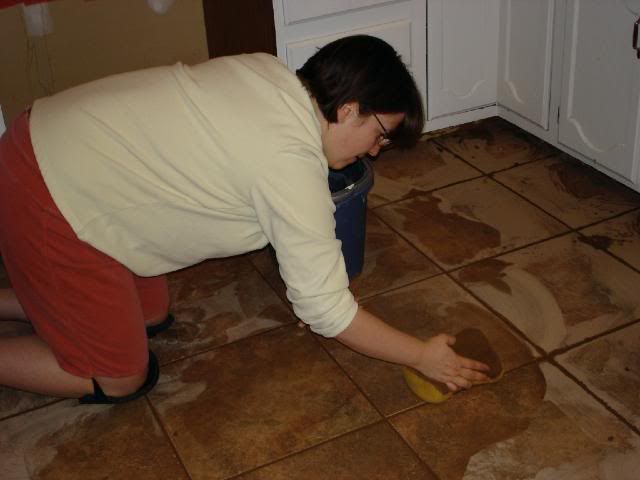
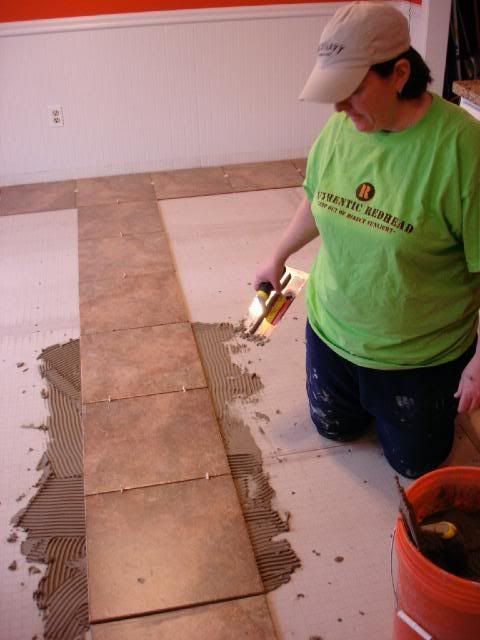
THEN, we tackled the FLOOR! I came home from work earlier this past week, and we put down all the full tiles (after a careful dry fitting, of course). Then, the next night when I came home, Cath had already completed the cuts with our new tile saw! Since, we're going to need one for the 
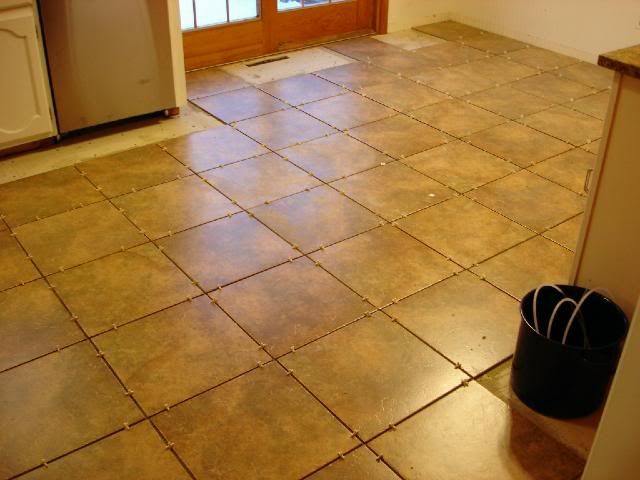
upstairs bathroom, too, it was cheaper to buy a mid-range model than it would have been to rent one. So, we put those last tiles down in no time! Then, we grouted the floor and let that dry for a couple days before sealing it yesterday and today. It's so clean and white... Let's hope it stays that way!

Once we got that final coat of sealer on, we went to breakfast at the Latham 76, our favorite diner, before coming home to start installing the baseboards. I cut those, alternating with the coping saw and miter box, while Cath cleaned up the floor and made sure the sealer hadn't left a residue on the tile. She nailed them in place with our handy nail gun, and PRESTO!

Then came the REALLY fun part -- our first-ever TOILET INSTALL! And, I must say, it went SWIMMINGLY! We got the bolts and wax ring in place, set the base down, and bolted that to floor. Then, we set and bolted the tank, before reconnecting the water supply. I hooked up the flapper chain, held my breath, and FLUSHED! And, lo and behold, it worked perfectly! Just a little tightening of the float level screw and a slight easing of the water pressure and that baby filled up in 47 seconds flat -- the instructions said it should take around 50 seconds if everything was set correctly. Just a couple bolts to secure the seat in place, and we were done!

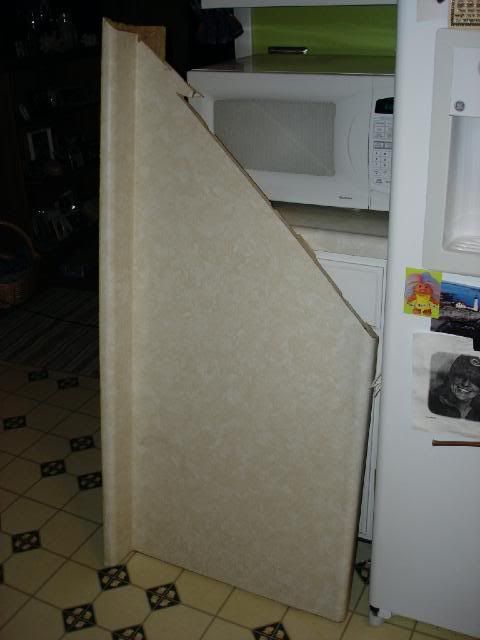
So, we moved on to the vanity. Here's where we realized that plumbing can be REALLY frustrating... After numerous snafus and mis-fittings of the sundry pipes and what not, we finally obtained the right sized hoses and connectors -- and it only took about 3 trips to Lowes! Ugh... But, we located the stud, set the vanity in place, shimmed it level, and screwed it securely to the wall. Then we hooked up the faucet to the sink, installed the drain and stopper, and set it in place on top of the vanity. LUCKILY, before we applied the adhesive, we decided to check the pipe locations to make sure everything was aligned. And, of course, it wasn't. The PVC J-trap pipe was too wide -- we would have to shift the sink too far forward to connect the drain pipe to the inlet pipe from the wall... THANKFULLY, we had a similar problem in the kitchen and we knew that Home Depot carries rubber J-traps, so we trekked out one last time, picked up the final piece, got home, and collapsed. It was about 6:30 by then, and we'd been up since about 5:30, so we ordered a pizza and called it quits. Our quest to finish all the plumbing in one day was nearly fulfilled...

Meantime, during all this fun and frivolity, The Guys had moved outside to finish our deck! They installed the new lower deck last summer -- our first project with them -- and this year they're re-surfacing the upper deck that was already in place. They started on it early this past week and have made AMAZING progress in just these few days... All the handrails were removed and floor boards were pulled up in about two days -- no small feat, considering each board had 3 nails into every joist and Dave was working on it alone! (Mike has a day job with the State...) Plus, it was raining off and on all week, so he didn't even get to put in full days!

Yesterday, though, Mike returned and they put down most of the new composite floor boards. Then, today -- in between more sudden downpours and none-too-few plumbing questions from us -- they put in the posts and most of the handrails. Doesn't it look fantastic?! Don't worry, that's just a spare board lying there in the middle... We're thrilled with it, and it's not even done! Dave says he's coming back tomorrow, so it'll probably be complete by the time we get home. WOO HOOOOO!

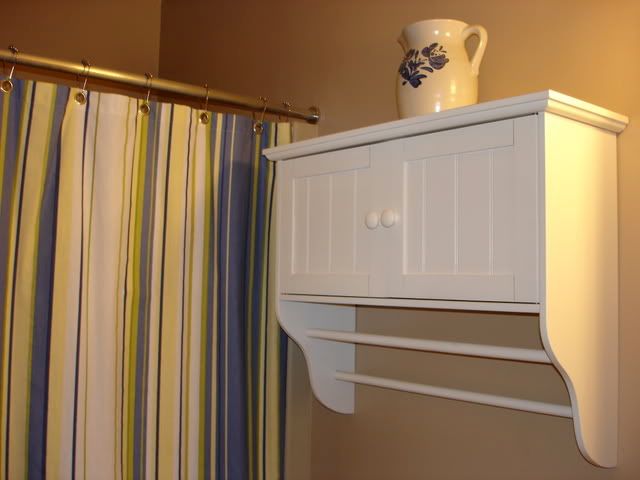
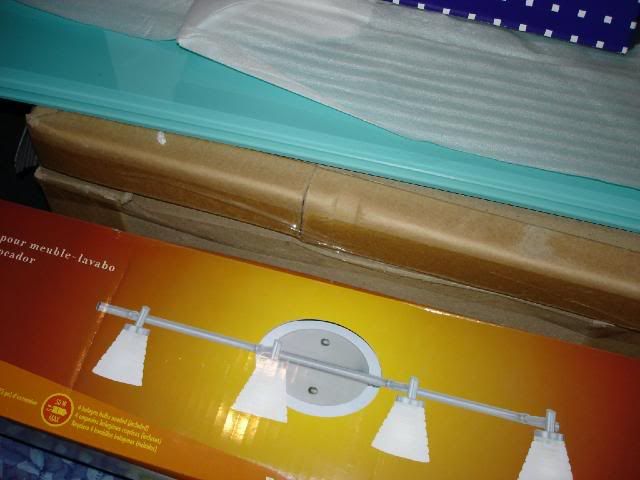
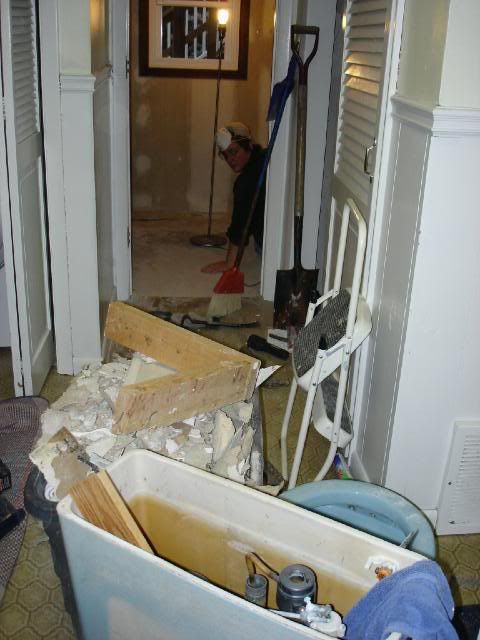
So, there you have it! We're finally in the home stretch -- once we finish installing the sink, hang the mirror and storage cabinet, and install the light fixture, the downstairs bathroom will be ready to use! That means, we can finally begin demolition upstairs. Cath and I will take out that toilet, vanity, light, fixtures, etc. Then, The Guys will remove the old/install the new tub, install the window in the shower (at the correct height to preserve our decency, of course), and tile the shower. At that point, Cath and I will tile the floor, The Guys will install the wall-mounted vanity and the recessed-mount medicine cabinet, and Cath and I will finish the painting and detail work.

WE CAN'T WAIT!

4.26.2008

Catching Up...

Sheesh, time flies! Especially when the sun returns...yippee! At any rate, I figure I should bring this back up to date, since -- and I have TOTAL faith in this -- our contractors should be available again in a couple weeks! WOO HOOO!

We've been enjoying our new kitchen very much! Even had a few folks over for some chow to break it in. We've also filled in the time since our bathroom overhaul hit a speed bump with a few little projects and fine-tuned some decorating details... Colorful throw pillows, updated a couple lamps, stuff like that.

And, Cath single-handedly replaced two ceiling fans! Here's the one she installed in the bedroom, for which I don't have before-during-and-after pics.

I DID, however, capture the action during the living room fan install... She had dismantled our old, ugly, outdated fixture before I even knew what she was up to!

It took no time at all for her to get the based wired and mounted. Then, I helped hang the blades before she hooked up the bulb. After that, she just needed to install the light cover, and VOILA!

3.08.2008

Cabin Fever

OK, so we were itching to keep our home improvements going... What better way to treat a bout of cabin fever than to go look at furniture! Except...

Come summertime, we planned on updating our living room furniture -- especially the sectional sofa. Everything is in decent shape, but the cotton twill slipcovers always look rumpled no matter how carefully you smooth them and they collect pet hair like crazy! I mean, we know that a dog and two cats shed hair. Everywhere. But, must it be so hard to clean up?! We think not!

Anyways, we figured we'd cure our mid-winter restlessness by starting the search for our new living room set. Little did we know that we'd find wonderful stuff at our first stop and it would be on sale! We were doomed...

So, enjoy the photos! We LOVE our new living room! ESPECIALLY the microfiber sofas -- of course they'll end up with pet hair on them, but it comes right off! The dense weave of the fibers doesn't let the hair get caught, it just sits on top waiting for a lint brush or light vacuum to come along. Worth every penny!

The delivery guys from Raymour & Flanigan were awesome -- so cheerful even though it's cold and raining buckets out today. And, the company has a 4- or 5-year protection plan (can't remember which), so that if it get stained or rips you just call them and they'll come fix it or replace it! Rock on!

[Just an aside... Since baseball was on hiatus all winter, Cath and I were essentially hooked on DIY and HGTV. There's this one show called "Find Your Style" in which the designer helps challenged folks determine their style and then decorate a problem room with it. The very first time we saw this show, we were relieved, because we don't have this problem at all! We know our style -- it's "Coastal Modern," wouldn't you agree?!]

In case you're wondering what we did with our old furniture, Cath called around to a few charities and one called us back right away -- Albany Community Action Partnership (http://www.acoi.com). They help people with immediate need -- fire loss, escaping domestic violence, etc. Their client left Florida with just a suitcase. The only way the judge would let her get her daughters out of foster care? Get a furnished apartment.

When Cath got home from work, about 5 hours or so after they called, they were at our house ready to pick up the furniture. Here's one of the countless reasons why I love my girl... She gave them the sectional, both end tables, the coffee table, an accent table, the media cabinet, two bookshelves, a TV, a complete set of dishes (the ones that matched our old kitchen), linens, towels ... anything she could think of!

What a beautiful woman!

P.S. The ottomans/coffee table come next week!

The Screeching Halt...

We were on such a roll, too! Oh well...

Our contractors are wrapping up a large project they've been doing for about 6 months up in Clifton Park, so we're on a temporary hiatus. They'll be back in April to help us finish up the downstairs bathroom, so then we can start the upstairs bathroom.

The problem is, we didn't anticipate having to get rid of the drop ceiling in here. But, there's no point in installing a permanent ceiling yet, since the upstairs bathroom is directly above here. Keeping the ceiling open for now will yield easy access to the upstairs plumbing.

Well, there is some good news, though... At least it looks like our home equity loan is in solid shape! When we started on this adventure, we plugged into the budget the cost for our summer projects (repaving the driveway, finishing the deck, etc.) so that we wouldn't inadvertently overspend early on. Everything except the labor has been accounted for in the remaining indoor work and it looks like we have enough to cover that, so we are on track!

Anyways, just to whet your appetite... I'll show you what we going to be installing in the downstairs bathroom!

Here's the tile for the shower and the floor... The blue shower tile is called Cayman Dolphin and has a snowflake or fractal kind of pattern on it, in shades of silver and green and blue. Very cool, but not too bold. And, there's a hint of gray marbling in the floor tile, but you can't really see it on the picture.

We bought a simple vanity in white (with a matching mirror) to go with that. I'm pretty sure this is the one... I snagged this photo from the Lowes Web site. The box is out in the garage, and I can't get a clear picture of it at the moment... The white wall cabinet that we currently have in the upstairs bathroom will find a new home downstairs, as well.

The fixtures will be silver, including the 8" rain-maker showerhead that I found on clearance for only $12.50 (normally $65)!!! Even though the box says "brass" finish, it's definitely silver in color -- maybe that's why it was on sale?!

Our wall color is very soft, too -- a cool blue called Lament Blue (http://valsparatlowes.com/painter.html) -- which is lovely, despite it's name...

There is a small window here but it's north-facing so there's not a lot of natural light in this bathroom. By keeping the materials light, we're hoping to balance that out. We can't wait to get going again!

Oh, and I'll even give you a peek at what we're doing upstairs. But only a little one...
Cheers!

Tah dah!!!!

Sorry we've taken so long to bring you folks up to date, but the KITCHEN IS DONE!

Let's see... Where did we leave off?? The GROUT!

Well, the guys came back and finished the tiling with all the cut pieces, so then we took over once again and applied the grout. What a messy job! Muddy at first, then dusty once it dried -- BLECH! But no point paying someone else to do such an easy task, right?!

Actually, with two of us it went very quickly. Cath got started before I got home (she gets out of work earlier than me), so she kept on troweling and I followed behind (on a delay) and sponged off the excess. The entire floor was done about an hour later! Not too shabby, eh?!

The next day, Cath sealed the grout twice so that it's water repellent to help prevent mold and mildew -- always good to avoid! Once I got home and it was dry, we put all the furniture and appliances back, and VOILA! Our new kitchen! (This picture is full size, if you click on it.) Whaddya think?! Not bad for a couple of amateurs, if I say so myself...

2.18.2008

Bathroom progress

I (Cathy) took some time off from work with the thought of getting the downstairs bathroom squared away. I found that the world of home improvement doesn't work around MY schedule... in fact the opposite is true. On Wednesday the 13th, the plumber (who was 4 hours late) came out and had to jackhammer a new hole for the drain, since it wasn't in the middle. So, while he was there I also asked him to go ahead and install the plumbing for the shower. End of Day 1.

Day 2, ( 3 hours late) brought the shower installer guys who, upon looking at the whole in the ground, scratched their heads for a full 5 minutes then disappeared for another hour to get more supplies. When they came back however, they worked hard and built the interior of the shower with waterproof backer board, sealed the seams, and poured the shower bed. End of Day 2.


Day 3 - once again 4 hours into the business day, the Boss comes out and finishes the shower bed. The whole thing is water tight and good to go.

While I was waiting for all of this to finish, I had decided to paint the laundry room. So we were having a discussion and the Boss sufficiently scared me out of tiling the shower by ourselves. Plus, the ceiling was still in disarray being half open and half still drop. AND the edges to the opening of the shower weren't even. Needless to say , there was still a lot of work to be done. So, the Boss recommended a guy she had worked with before who does good work. This is Sunday now.... He comes over, points out all of this stuff, and quotes "$1200" right off the bat. Ummm... no. To put up some studs and drywall, and tile a 4X3 shower? Seems a bit high to me. Anyway, today is Monday, my Heros are coming over to finish the edges of tile in the kitchen and also take a look in the bathroom to see what they can do. We will keep you updated....

2.14.2008

2...2...2 projects at once!


Along with the downstairs bathroom, we are also tackling the kitchen. We are updating the counter tops and the flooring... the appliances are still on our wish list. We started by removing the counter tops, which were still in good shape, but very out dated. Another chance to use the reciprocating saw!!! While we waited for the next step in the process, we decided to change the color of the walls. Out goes the apple green- in comes the tomato red! Hey, at least we stayed with the food theme...

Next, we had a person from the stone company come and measure. What a complicated process! Not just a measuring tape, but an electronic machine that precisely measured down to the millimeter. After, needless to say, the animals found it all very interesting...

After the measuring, we had to take a trip out to Syracuse to pick out our slab of granite. The type we had chosen was called Cinnamon Sand, and could vary in its pattern and veining. What an interesting place. Nothing but rows and rows of different types of granite... pretty cool. We were shown our type and picked out the slab we wanted. ( The first one looked fine to us!) So now it was a matter of time until it was cut and installed. We had to put the counter tops back on and hook the plumbing back up again so that we could function while we were waiting. Not such a big deal but we have been in a state of flux ever since! So finally comes the day that we have arranged for the install. I hear the guys that have to do it moan a little bit at the sight of the 14 steps they have to navigate. But, they manage to make it up . Once they put it down, they caulk it with something to secure it and then seal the seam. Here they are putting the sink in. They did a wonderful job and even put in an extra back splash for us. The finished product was even better than we expected!


Our next project in the kitchen...the tile! We knew that we wanted to try this part ourselves but we also would need some help. So we called on our trusty contractors to put down some backer board for us so that the tile would have something to stick to and so that we wouldn't have to take up the vinyl that was down already. They were such troopers, they worked out in the cold and ice for us!! Once the backer board was down it was our turn to try our hands at DIY. First we dry fit the tiles, spending a good deal of time discussing what the middle was. Then, we held our breath and put the first bit of thin set down. The first couple of tiles went smoothly. So, we thought - Hey, we can handle this... The rest was easier as we went along, until sore and exhausted we did all that we could. The guys would have to do the edges for us since we don't have a tile saw and were kind of chicken too... :) We are waiting now for them to come back and finish the edges for us so we can grout and be done with the kitchen, so we can get our living room back! That is where all of the appliances and stuff are being stored right now. Argh.

Today we have some more work happening in the bathroom, but I will leave that for another post. Have a great day!!

2.10.2008

And, they're off!

Our first project was tackling the DOWNSTAIRS BATHROOM! Unfortunately, we don't have a "before" picture, but trust us -- if there ever was a Hollie Hobbie room, this was it! Odd yellow and blue shiny, flowery wallpaper, with matching blue sink, shower and toilet! Gotta love the '80s!

Anyways, we soon learned an important lesson...

DEMOLITION IS FUN!!!! And, here's what was left!


Not much, eh? What you can't see is that around the corner to the left of the door is the blue shower... THAT wasn't so easy to get rid of...


She finally got it clear of the drain, but the crazy thing was too big to get out the door. So, our new favorite tool came to the rescue once again, and Cath hacked that shower into pieces!!! It was MUCH easier to remove that way!

Charlie found the hole left behind supremely fascinating!

So, then we called upon our contractors -- Dave and Mike Dee, the father-and-son team behind Dee Home Improvements -- to build out a new, larger shower frame. They capped the plumbing, since we're going to move it to the interior wall, and built out the space where the custom shower bed will be installed next week.

And that's where we stand in this room!
The next steps: install the shower bed and cement board, and waterproof it all -- that we'll leave to the professionals!

Then, Dave and Mike will hook up the plumbing, before Cath and I tile the shower and floor, install the vanity and toilet, and paint!

So, stay tuned!